
BIKEPACKING 101: Free Video on the Basics of Bikepacking
Feb
Bikepacking 101: The Basics of Bikepacking – The following is a video recording of a LIVE YouTube web event that took place on January 31, 2018, in which Darren Alff (the Bicycle Touring Pro) shared his knowledge on the basics of bikepacking.
If you don’t want to watch the video intro, please click here to skip to start of the bikepacking webinar.
What is Bikepacking?
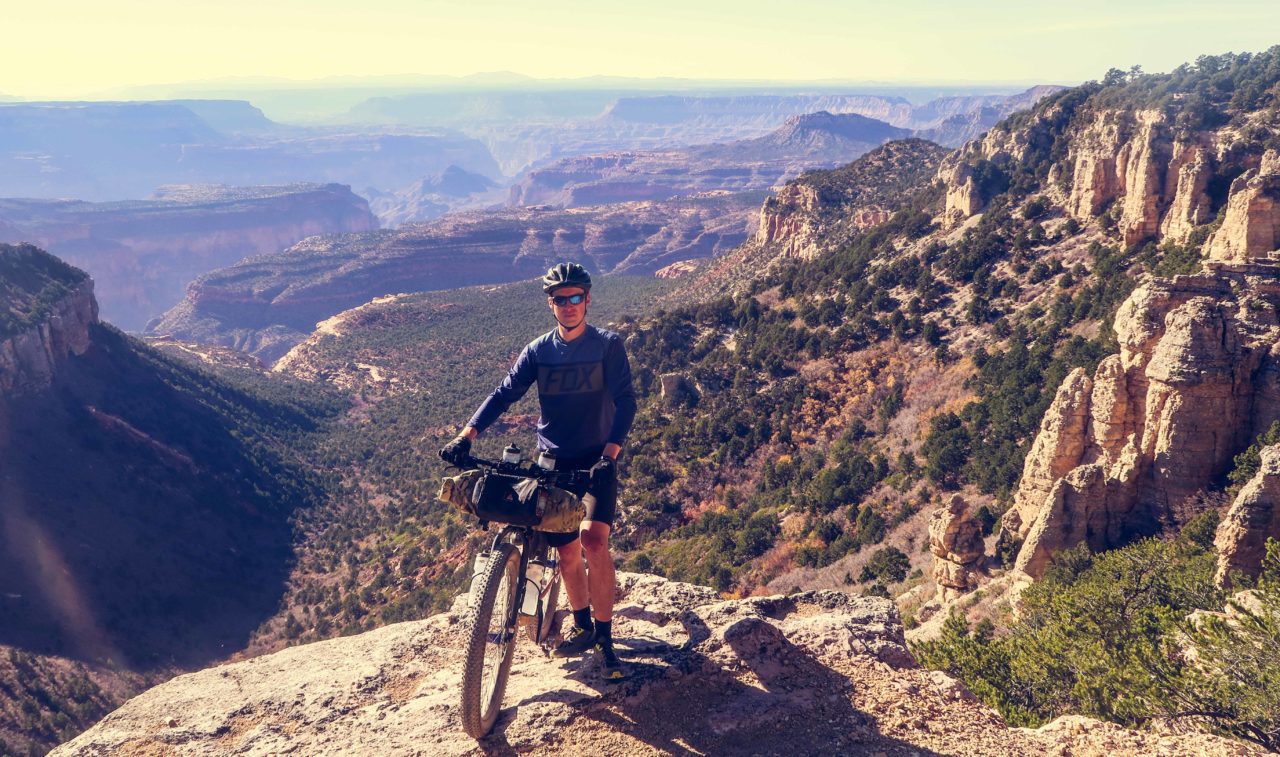
Bikepacking is backpacking with a bicycle. It’s mountain biking combined with the skills and techniques you might use on a long-distance, multi-day hiking or backpacking trip.
Instead of carrying your food, water, clothing, camping equipment, etc in a big, heavy backpack that presses down of your back, waist and shoulders, bikepackers use a series of small frame bags, seat bags and handlebar bags to disperse the weight of their gear across the frame of their bicycles. This allows you to comfortably ride your bike without the weight of all your gear constantly pressing down on your body.
How Is Bikepacking Different From Bicycle Touring?
Bikepacking is bicycle touring. In fact, bikepacking is just one of many different types of bicycle touring.
While bicycle touring is usually described as a multi-day cycling adventure where you travel for days, weeks, months or even years on end under your own power (without the assistance of a motor) and is usually conducted on paved roads or bike paths with the occasional dirt or gravel road riding required, bikepacking generally refers to off-road cycling on dirt or gravel roads and single-track trails.
The way that bicycle tourists and bikepackers carry their gear is also different. Individuals conducting a traditional road-based bicycle tour will usually carry their belongings in a set of pannier bags or in a trailer that they pull behind their bike, whereas bikepackers tend to carry their belongings in a set of frame, seat and handlebar bags that are strapped or mounted to the frame of their bicycle.
But bicycle touring doesn’t just mean “road riding”… and bikepacking doesn’t just mean “off-road riding.” It’s not uncommon to hear the two terms (bicycle touring and bikepacking) interchanged with one another.
Sometimes you will see or hear someone say that they went bikepacking, when in reality, what they were doing could more closely be defined as traditional road-based bicycle touring. And there are other instances where people might say that they went bicycle touring, when in reality, the activity they participate in was actually something closer to off-road bikepacking. These two terms can be swapped back and forth. However, bicycle touring generally refers to a road-based bike tour with the use of panniers or a trailer… and bikepacking generally refers to an off-road cycling trip where all the necessary clothing, food, camping equipment and gear is carried in a set of frame, handlebar or seat bags that are secured to the frame of the bicycle.
Ultimately, bikepacking is just one of many different types of bicycle touring.
What Gear Do You Need For Bikepacking?
There are really only a few things you need to start bikepacking for your self.

Bicycle
Bikepacking Bags
Camping Equipment
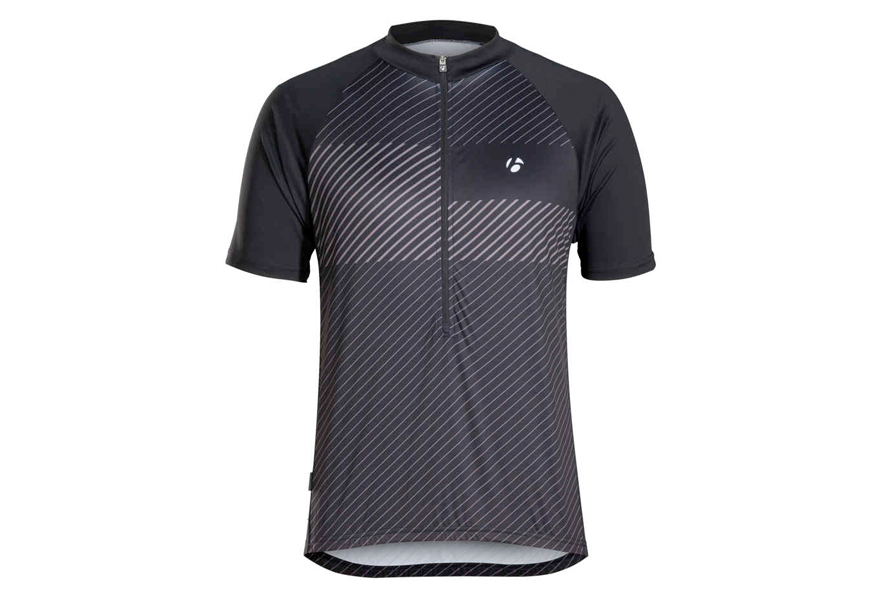
Clothing
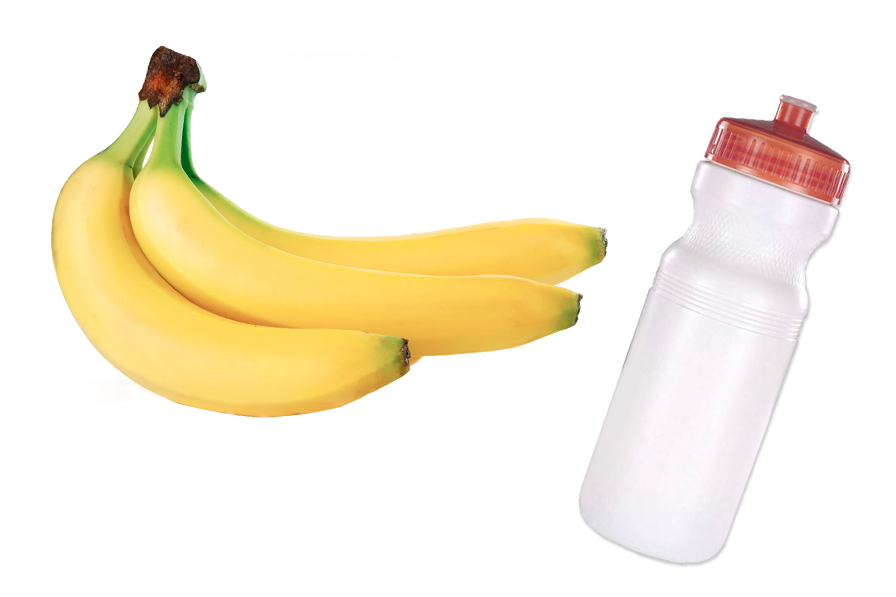
Food & Water

Map & Tools
After you’ve gathered these few essential items, there are other pieces of equipment you might want to add to your overall bikepacking list. These extra items might include:
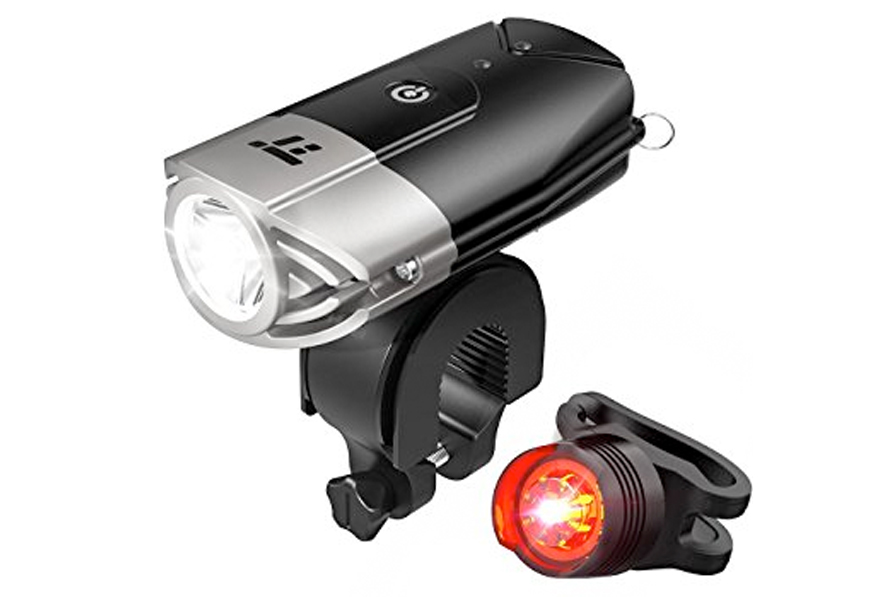
Bike Lights
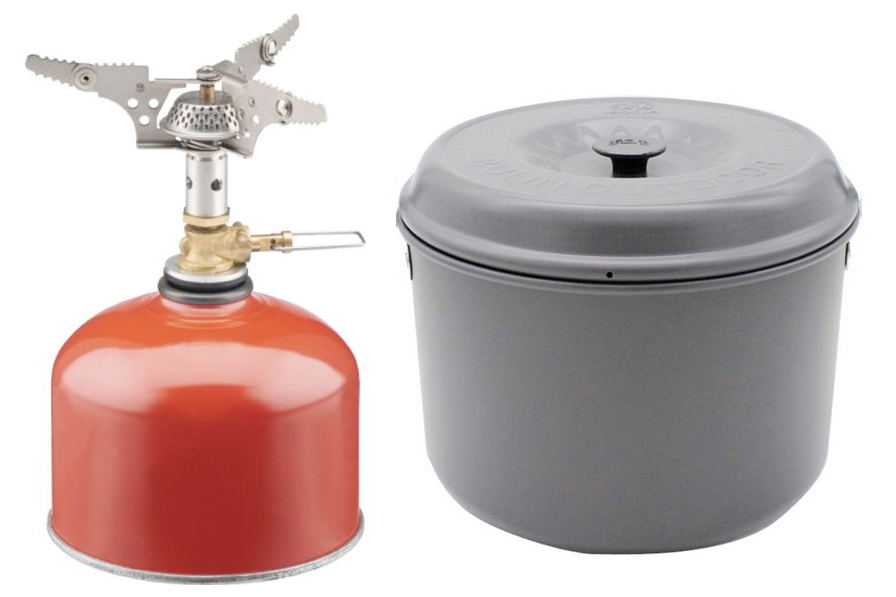
Stove & Cook Pots
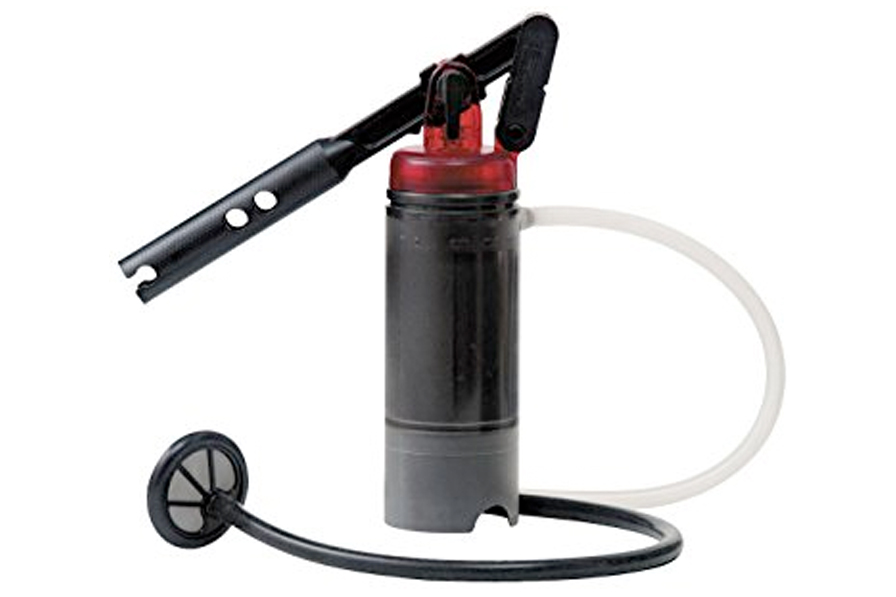
Water Purification

Toiletries
Electronics
SPOT Tracker
Click here to view my complete bikepacking gear list. Feel free to use this packing list as a template for your own bikepacking adventures, but please don’t think that this is the one and only way to pack for a bikepacking trip.
What Kind of Bicycle is Best?
One of the big advantages to bikepacking over traditional bicycle touring is that almost any type of bicycle can be used for a bikepacking trip. While mountain bikes are the most common type of bicycle used on bikepacking adventures, it’s not uncommon to see road bikes, touring bikes, hybrid bikes and even electric bicycles being used for bikepacking tours. So, if you already own a mountain bike of any kind, then you’ve likely already got a bike that you can use for bikepacking.
That being said, there are a number of different bicycles on the market that have been designed specifically with bikepacking in mind.
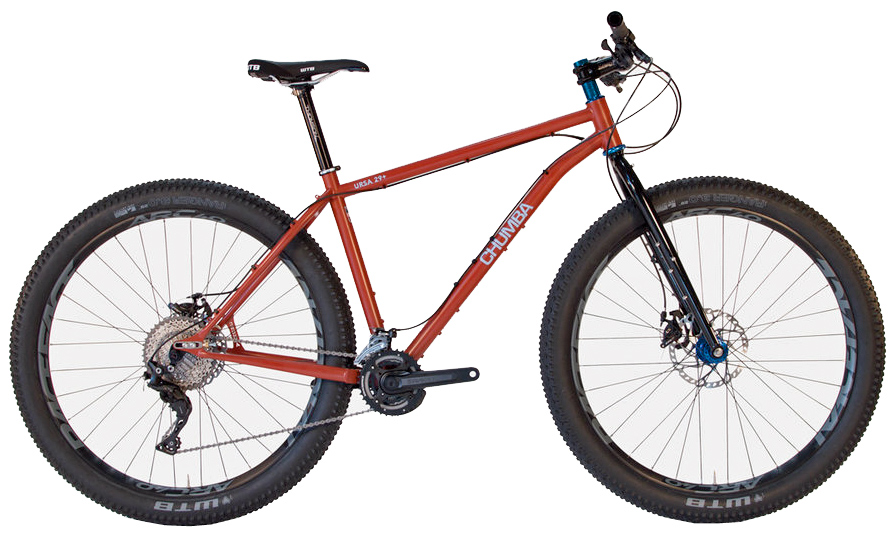
Chumba USA Ursa 29+
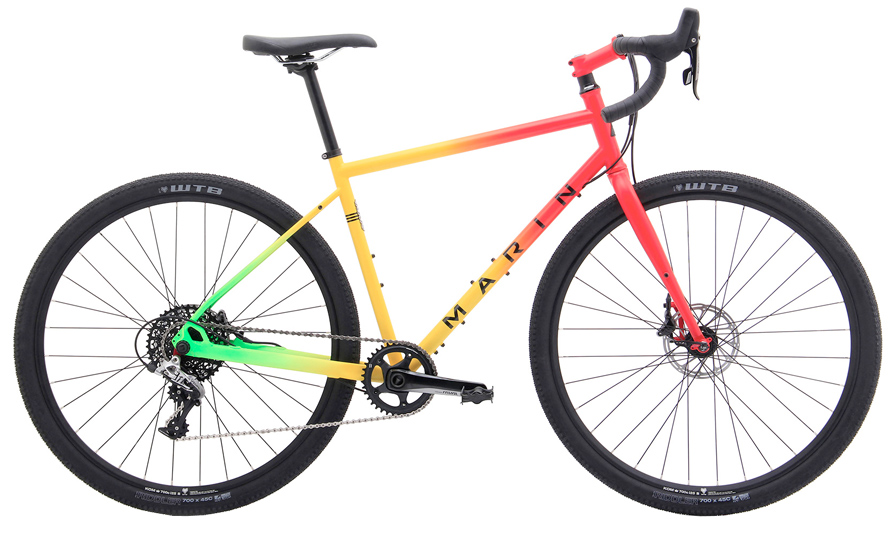
Marin Four Corners Elite
Reeb Dikyelous
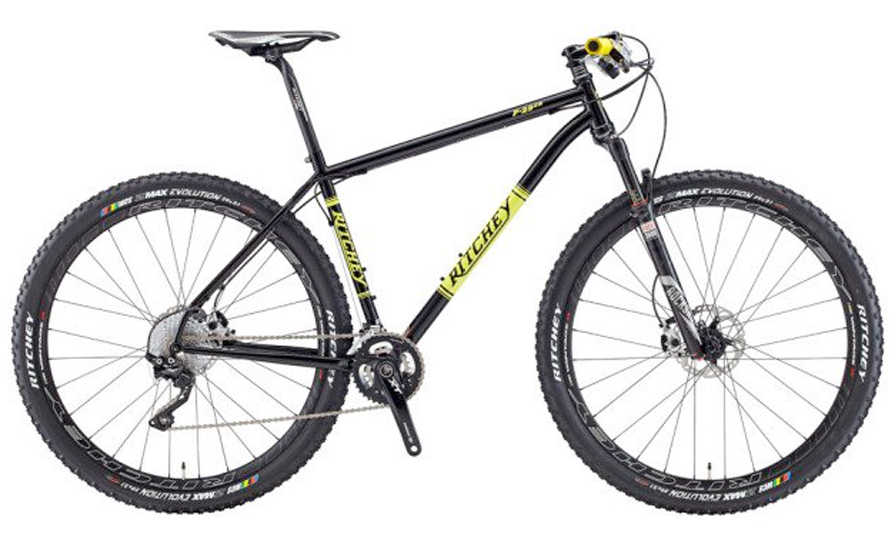
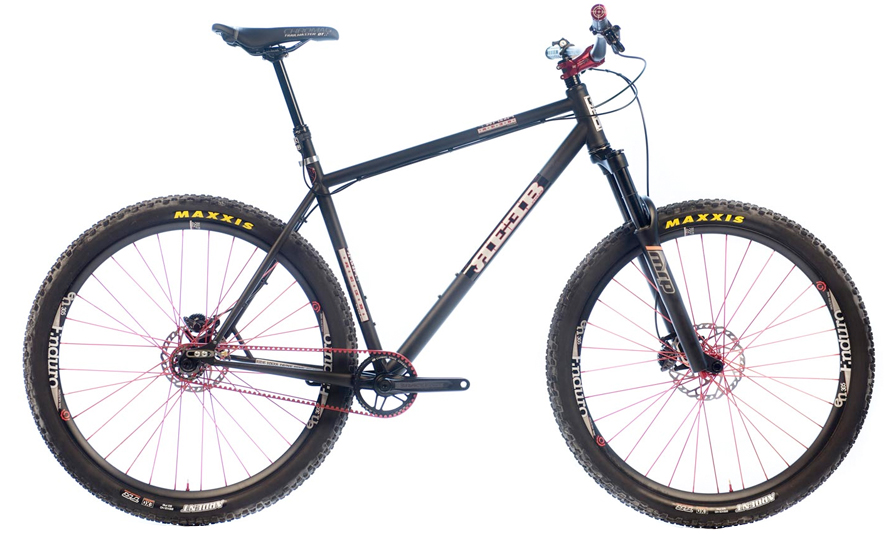
Ritchey P‑29er Complete
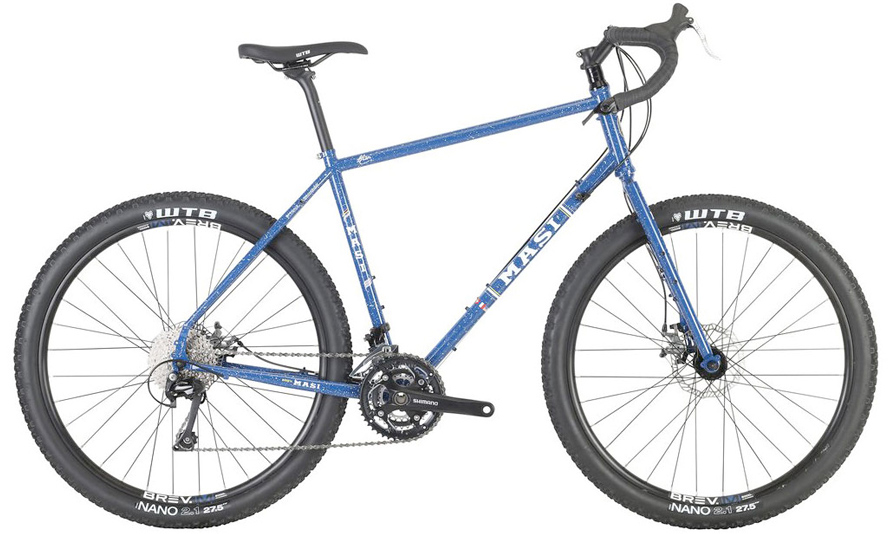
Masi Giramondo
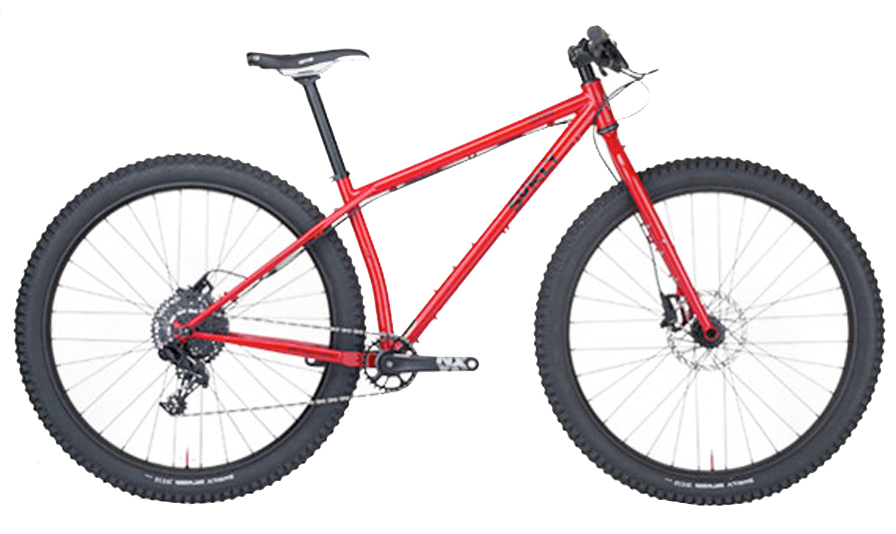
Surly Krampus
While mountain bikes and bikepacking bikes have many similarities, there are a few things that make bikepacking bicycles unique when compared with the mountain bike models you might be familiar with:
- Wider tubeless tires – Most bikepacking bicycles now use tubeless tires, which are lightweight and self-patching. The wider your tires, the more comfortable they will be in off-road terrain (with some sacrifices to speed).
- Extra eyelets on the frame/fork – Bikepacking bicycles usually have extra eyelets built into the frame and fork of the bicycle, allowing you to mount extra water bottle cages, front and rear racks, and various accessory bags/cages.
- No suspension or shocks – It’s nice to have suspension or shocks when you’re riding downhill over bumpy terrain, but a bikepacking bicycle needs to be able to go anywhere, so most bikepacking bicycles don’t have suspension of any kind (as shocks tend to make it more difficult to ride your bike on flat and uphill terrain).
If you already own a mountain bike, then you can start bikepacking with the bicycle that you have now. But if you don’t yet have a bicycle and you’re interested in bikepacking, consider purchasing a bike that is built specifically with bikepacking in mind. You can then use that bicycle for bikepacking expeditions and for regular mountain biking pursuits as well.
Which Type of Bikepacking Bags Do You Need?
There are a number of different bikepacking bags available to you. However, the most common bikepacking bags you are likely to encounter are the:
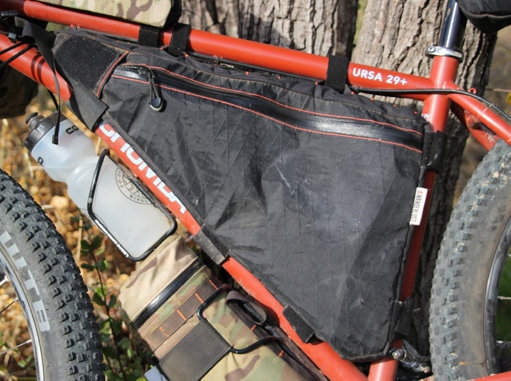
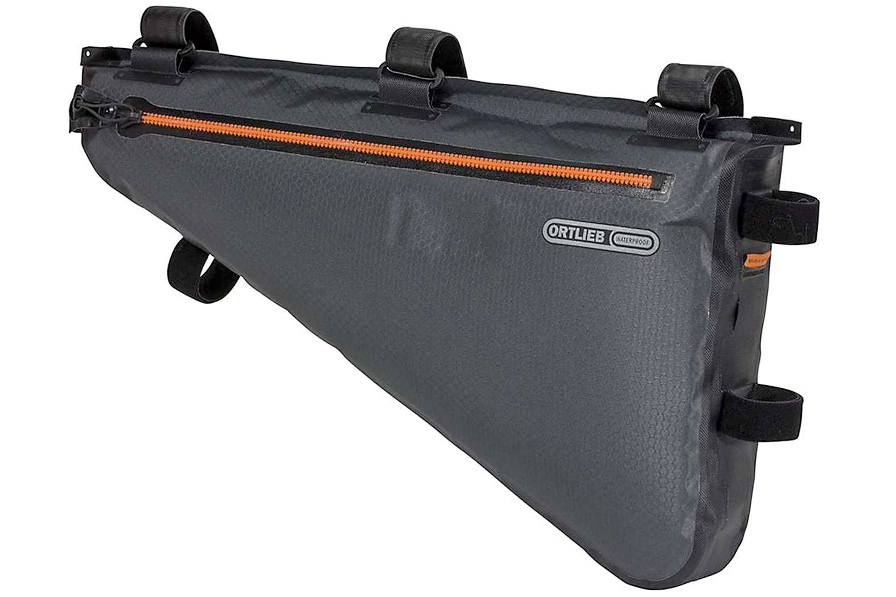
Frame Bag
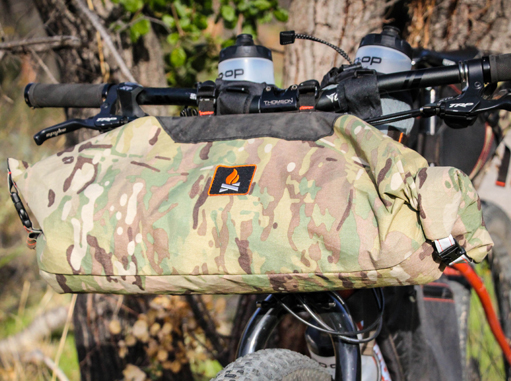
Handlebar Bag
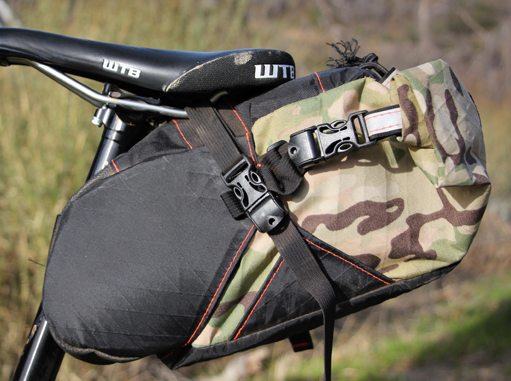
Seat Bag
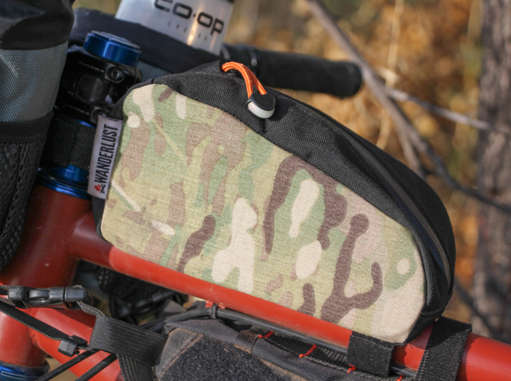
Top Tube Bag
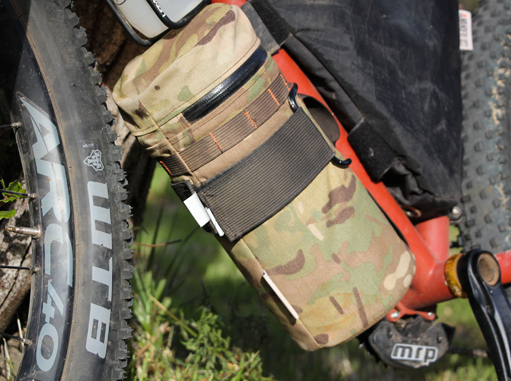
Accessory Bag

Stem/Bar Bag
Even though bicycle tourists should make every effort to pack the weight of their gear on the frames of their bicycles, many bikepackers choose to carry water and small, lightweight items (such as food and/or a rain jacket) inside a small backpack or hydration pack that they then carry on their backs as they ride.
If you’re just getting started with bikepacking, consider purchasing only a seat bag and a handlebar bag to begin with. Then, if you need more room, add a small backpack to your bikepacking gear list. If you still need more room for clothing, food or camping equipment, consider the use of a frame bag. And then add the smaller top tube bags, accessory bags and stem/bar bags for additional storage options.
Daily Distances & Speed
The average road-based bicycle tourist usually cycles at a rate of approximately 10 miles (16 km) per hour and covers, on average, approximately 40-100 miles (64-160 km) per day. Whereas most bikepackers, who are traveling on dirt or gravel roads and single-track trails are usually cycling at a speed closer to 8 miles (13 km) per hour and covering a distance of 25-75 miles (40-120 km) per day.
Camping Equipment & Techniques
When you go bikepacking, every effort should be made to make your bicycle as compact and as lightweight as possible. However, the camping equipment you need to conduct an overnight bikepacking trip in the wild means that you are going to be required to carry some rather large items with you on your bicycle.
Bikepackers, therefore, tend to adopt one of the following camping techniques on their cycling trips:
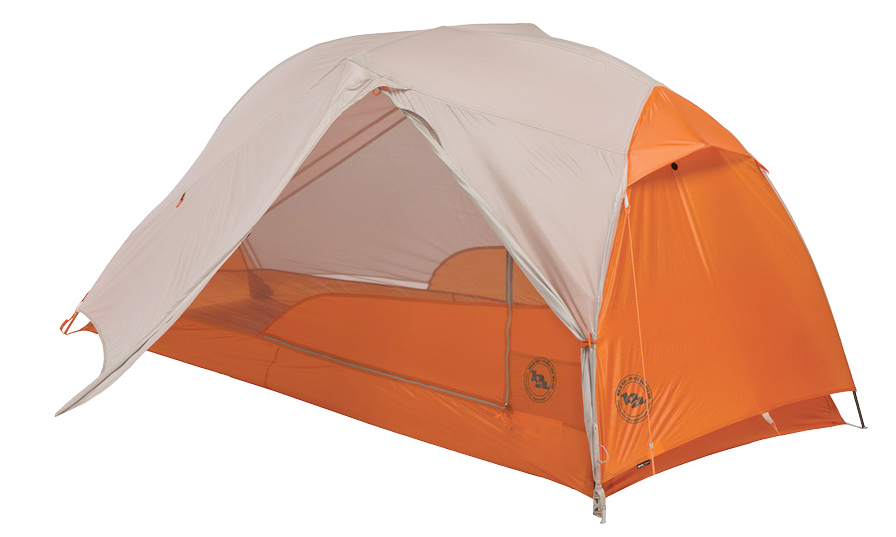
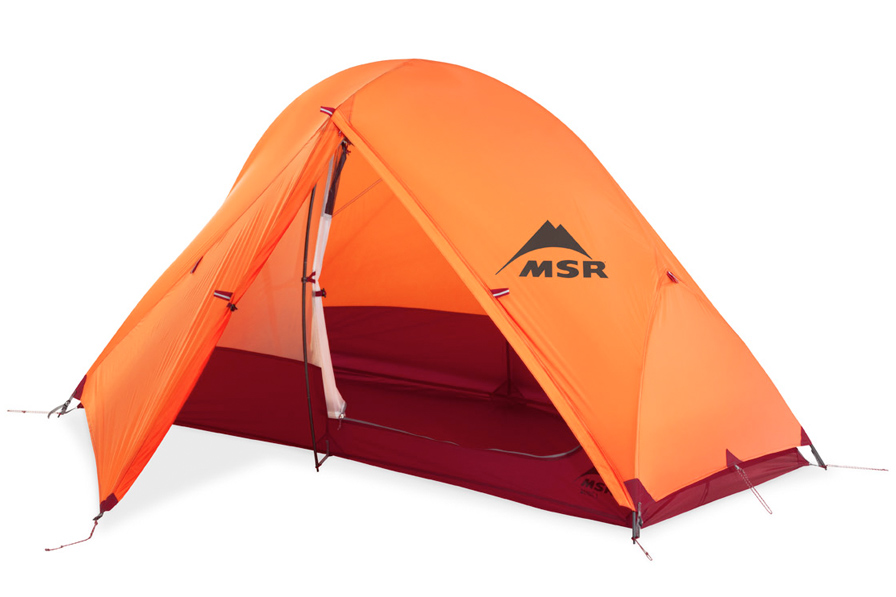
Tent
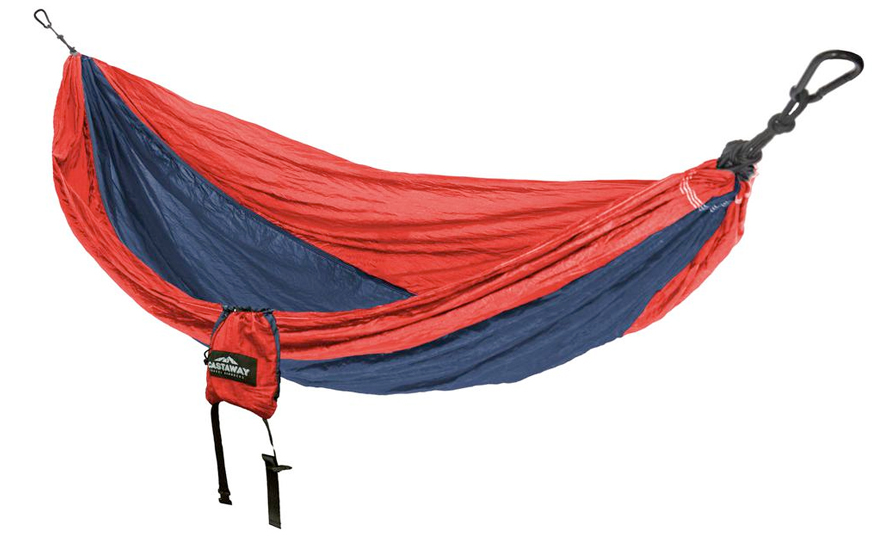
Hammock

Tarp
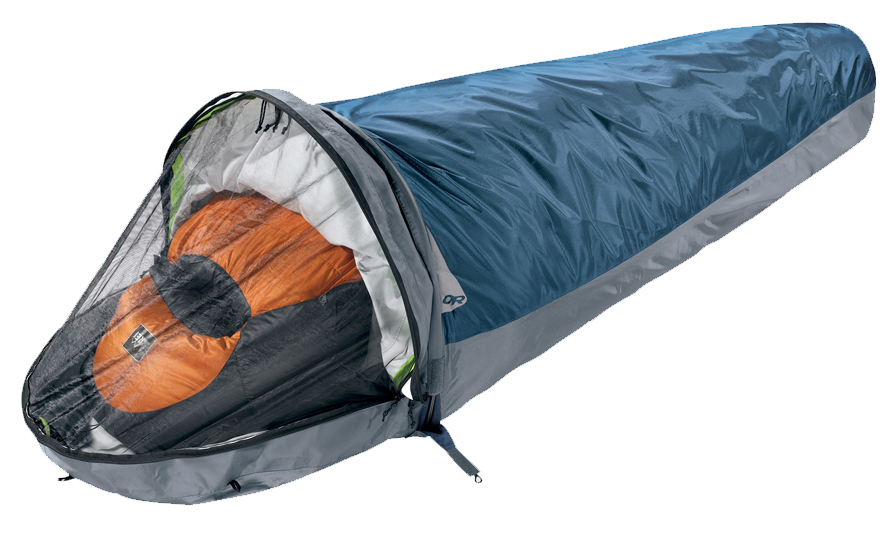
Bivy
- Tent – Provides you with the most protection from the elements, but it’s the largest and heaviest of all the camping options.
- Hammock – Small and lightweight, but only works in forested parts of the world. Plus, you’ll need to pack a tarp to sting over the hammock, in case it rains or snows at night while you’re sleeping.
- Tarp – A simple, lightweight tarp is really all you need to protect yourself from the elements in certain situations. Lay the tarp down on the ground or string it up in the trees overhead. I don’t recommend this technique for beginners.
- Bivy – A small, lightweight, waterproof bag (just a little bit bigger than a sleeping bag) that you sleep in at night to protect yourself from the elements. Small and lightweight, but delivers little protection from the elements.
Bikepacking 101: The Basics of Bikepacking
If you’d like to learn more about the basics of bikepacking, please click here: htts://www.bicycletouringpro.com/bikepacking At the bottom of this page you will find a number of different articles, videos and resources you can use to plan, prepare for, and execute your own bikepacking adventures anywhere in the world.
BEFORE YOU GO: Please leave a comment below and let me know one thing you learned by watching my free Bikepacking 101 webinar on the basics of bikepacking. And if you have a friend, family member or loved one who might be interested in this bikepacking information, please share this article/video with them. I’m sure they would appreciate you sharing this with them… and I know I’d appreciate it as well.
“(as shocks tend to make it more difficult to ride your bike on flat and uphill terrain).”
That’s very much incorrect. Not only you can lock them out entirely, but they can also provide much better traction UPHILL on rocky terrain.
The reason why you wouldn’t have suspensions however are:
– more maintenance/things that can go wrong
– cheap suspension are absolute trash and worse than not having them
– less bag space on the frame
The reasons why you would..
– you pretty much mountain bike your way, with little to no paved roads.
I bike pack on a full suspension bike and it’s awesome.
Great artical but I do not approved with ” no suspension or shock ” because if we are do not require it in unpaved road, when we will be need it?.
But in all, it is awesome article.
Last thing I think you have writing mistake here “(40-120 km) per hour.” in distance section.