My Recommended Lightweight Bike Touring Setup
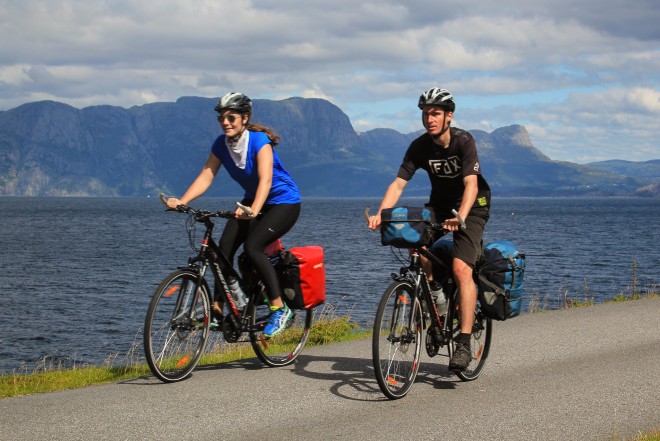
Today I’m going to show you a lightweight bike touring setup that you can use for local bike tours near your home; for cycling across an entire city, state, or country; or for cycling all the way around the world.
What you’re seeing in the video above is a Co-Motion Pangea touring bicycle equipped with front and rear fenders, three water bottles, a rear kickstand, two Ortlieb Bike-Packer waterproof panniers, and a waterproof Ortlieb handlebar bag.
Here’s a detailed breakdown of my recommended lightweight bike touring setup:
![]()
The secret to any successful bicycle tour is having a good bicycle. Click here to learn more about what to look for in a good touring bike.
![]()
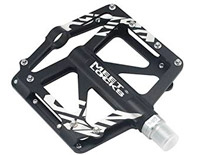
For this lightweight bike touring setup, you’ll be cycling in the same pair of shoes that you walk around in at the end of the day, so you’ll need a pair of simple flat bike pedals.
![]()
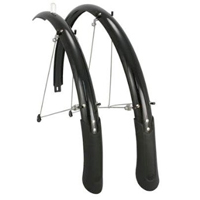
Fenders help to protect you and your bicycle from water and debris kicked up by the road surface. They aren’t 100% necessary, but most people who do long-distance bike tours enjoy having them.
![]()
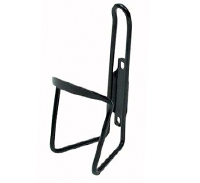
You’re going to be drinking lots of water on your bike tour, so you want to mount as many water bottle cages to your bike as possible. Most bikes have mounts for at least two water bottle cages, but quality touring bikes usually have three or more mounts.
![]()
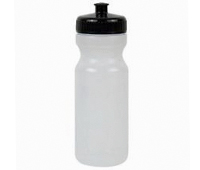
Again, you’re going to want to carry a lot of water with you on your bike tours, so don’t forget to pack a few water bottles.
![]()
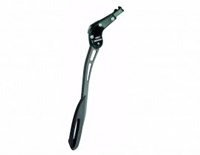
A kickstand isn’t necessary, but it sure is nice. So if you want to make this lightweight bike touring setup even lighter, consider ditching the recommended kickstand.
![]()
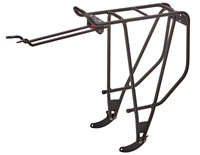
You’re going to need a rear rack on the back of your bicycle. The rack is what allows you to carry the two large bicycle panniers – which will carry most of your personal belongings while you’re on tour.
![]()
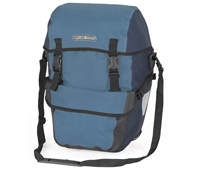
The Ortlieb Bike-Packer Plus panniers are my favorite bicycle touring bags. They’re large enough to carry all you gear, completely waterproof, and good looking.
![]()
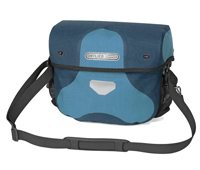
The Ortlieb Ultimate6 Handlebar Bag is a good one for lightweight bicycle touring. You will use it to carry your wallet, smartphone, and various bicycle tools.
![]()
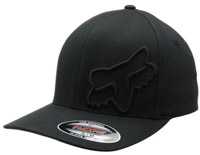
A hat is optional, but I like to carry a hat with me at all times, so that at the end of the day, when I take off my helmet, I can immediately cover up my bad helmet hair.
![]()
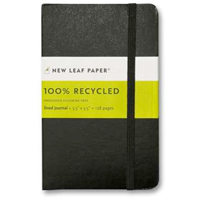
If you’re the journaling type, or even the type that likes to keep track of your daily distances, speed and location, then it’s a good idea to pack a journal and pen.
![]()
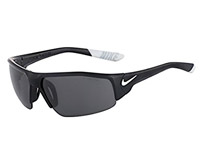
Sunglasses are a must for any bicycle tour. The sunglasses case, however, is optional. Only pack it if you think you’ll need it.
![]()
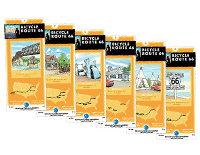
Paper street maps are optional nowadays (as many bicycle tourists are navigating entirely with their smartphones), but if you’re the paper map type, then be sure to pack your maps.
![]()
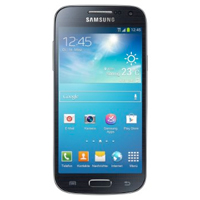
For mapping out your route, listening to music/podcasts, learning foreign languages and simply entertaining yourself, your smartphone may just be your most-used bicycle touring instrument.
![]()
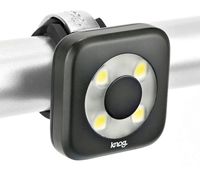
You’re going to want to have a small, bright bike light that can be mounted to the front of your bicycle when riding at night or through dark tunnels.
![]()
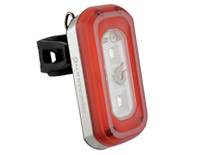
Having a rear light on your bicycle is a must. The light (like you front light) can also be used at night when working in your tent or around camp.
![]()
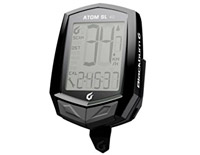
A bicycle computer like the Blackburn Atom SL 4.0 bicycle computer is not 100% necessary, but it’s a nice tool to have if you want to track your daily distances, average speed and other important stats.
![]()
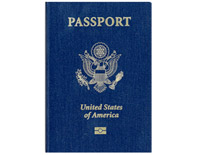
If you’re traveling internationally, you’ll need your passport. Otherwise, you can probably leave this item at home.
![]()
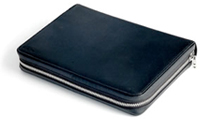
When putting together your lightweight bike tour packing list, don’t forget your wallet. I like to use a zippered wallet, so I don’t have to worry about my cash, credit cards or ID falling out while I’m on the road.
![]()
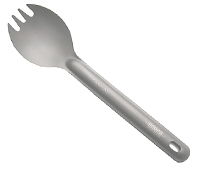
A lightweight titanium spork is, in my opinion, the only kitchen utensil you absolutely need – besides your knife.
![]()
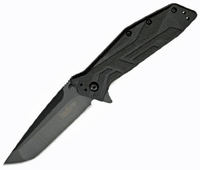
This small folding knife is carried in your handlebar bag and can be accessed quickly if need be. But the main purpose for this knife is for food preparation.
![]()
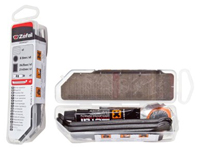
If you get a flat tire, you can usually repair the flat with a basic repair kit and two additional plastic tire levers.
![]()
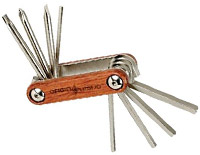
You want to purchase the smallest, lightest multi-tool you can find that at the same time contains all the Allen wrenches, screwdrivers, and tools you need for your specific bicycle.
![]()
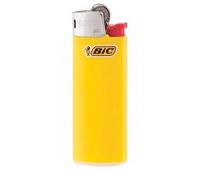
You can probably leave the matches at home, but at least carry a small lighter with you. This comes in handy for cooking over the same stove at the end of the day of creating a well-deserved campfire.
![]()
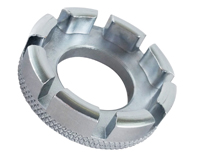
If you’re going on a short bike tour close to home, you can probably leave your spoke wrench at home. But if you’re planning a long-distance bike tour, then packing a spoke wrench is a good idea.
![]()
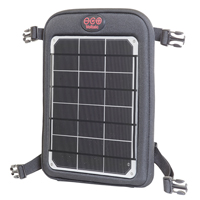
If you know you’re going to be traveling with a smartphone and you won’ be near a power outlet for several days on end, then you might want to consider carrying a small solar charger, like the popular Voltaic Fuse 6 Watt solar charger.
![]()
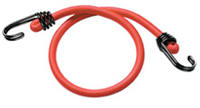
You’ll use this short bungee cord to carry your solar charger, sleeping bag, tent, or any other items you might pick up along the way) on the top of your rear bicycle rack.
![]()
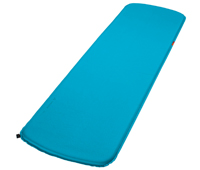
You’re going to want to use the smallest and lightest, high-quality sleeping pad you can fund. The Vaude Sove is, by far, the best sleeping pad I’ve ever used. It’s perfect for summer bike touring, but not ideal for winter cycling expeditions.
![]()
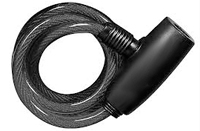
While not 100% necessary on every bike tour, it’s usually a good idea to carry a cable lock of some kind, so you can secure your bicycle whenever you step away from the bike for any length of time.
![]()
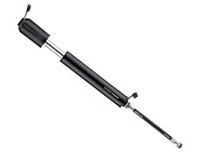
The Lezyne Sport Drive HV hand pump is an inexpensive bicycle pump, but it’s compact, lightweight and easy to use.
![]()
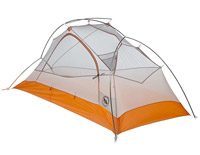
In order to pack light, you are going to want to purchase the smallest and lightest tent you can find – like the Big Agnes Copper Spur UL, which comes highly recommended!
![]()
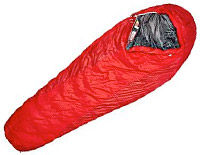
You’re going to want a small, lightweight sleeping bag is ideal for a summertime bicycle touring expeditions. Something like the Marmot Always Summer sleeping bag is perfect for the cooler nights of spring, summer and fall.
![]()
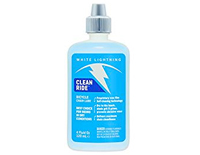
In order to maintain your bicycle, you’ll need to pack a small, lightweight bottle of chain lube.
![]()
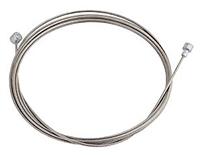
While not 100% necessary, it might be a good idea to pack at least one spare brake and one spare derailleur cable on your bike tour – especially if you are planning a longer ride in more remote corners of the globe.
![]()
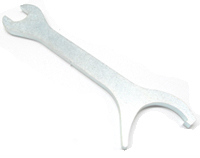
A pedal wrench is only really necessary if you are having to assemble or reassemble your bicycle at the start of your tour. If you’re biking close to home, you can probably leave the pedal wrench there as well.
![]()
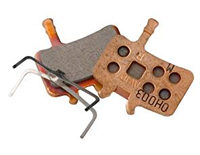
Once again, on shorter bike tours, you probably won’t need to pack a set of spare brake pads, but on longer bike tours it’s a good idea.
![]()
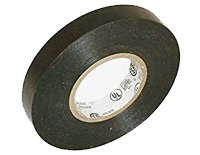
A half-roll of electrical tape can come in handy – for minor repairs to your bicycle… or for re-wrapping your handlebar tape should it come undone at some point during your ride.
![]()
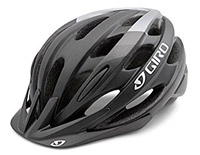
A helmet isn’t 100% necessary (some people don’t like to cycle in a helmet and that’s okay), but a helmet is required by law in many countries around the world, so do your research before you leave home.
![]()
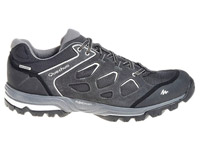
For this lightweight bike tour packing list, you’ll be wearing just a single pair of shoes – to bth cycle in and walk around in at the end of the day. Make sure you pick a shoe with a firm, but comfortable sole.
![]()
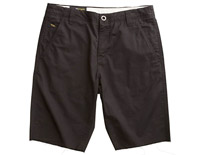
You can choose to wear any number of different types of cycling shorts. Whether you want tight lycra shorts of loose mountain bike style shorts – the choice is up to you.
![]()
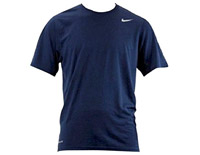
You’re going to want at least one lightweight cycling jersey for your bike tour. This is going to be the jersey that you use exclusively for cycling in each day.
![]()
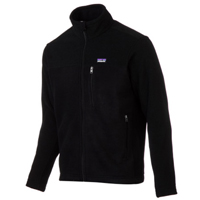
If it gets cold, you’ll be glad you packed a small, compact and lightweight fleece jacket – which can be worn alone or underneath your waterproof rain jacket.
![]()
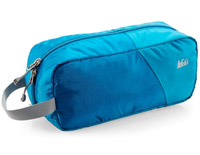
You can carry all of your toiletries inside a single lightweight toiletry case. In addition to the obvious toiletries you might need, you might also choose to carry a lightweight camp towel.
![]()
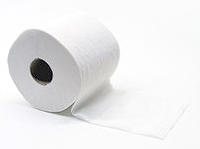
I recommend carrying at least a half-roll of toilet paper – just in case. You never know when nature is going to call… or if there will be any toilet paper in the vicinity, so it’s best to be prepared.
![]()
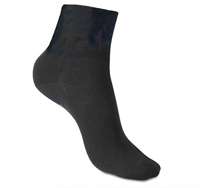
I recommend packing socks that you can wear both on and off your bicycle. This will reduce your overall weight, as you are eliminating the need for two different types of socks. Three or more pairs of socks is a good idea.
![]()
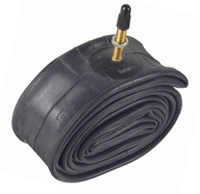
In the event of a flat tire, you should always have at least one spare bike tube on you at all times.
![]()
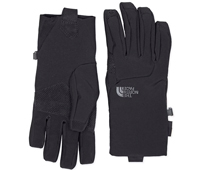
Cycling gloves are not at all necessary during most summertime bike tours, but in cold weather a lightweight pair of gloves can really come in handy.
![]()
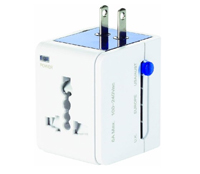
If you’re traveling with a smartphone or any other electronics in a foreign country, you may need to carry an international power adapter, such as the Travel Smart All-in-One Power Adapter pictured here.
![]()
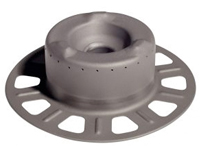
Bicycle touring with a camp stove isn’t always necessary, but having the ability to cook your own food certainly comes in handy in certain parts of the world. You’re going to want to smallest and lightest camp stove you can find.
![]()
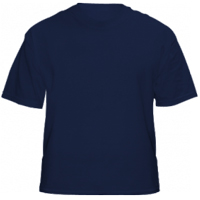
Nothing special here. At the end of the day you will want to change out of your smelly cycling jersey and into something a little more comfortable.
![]()
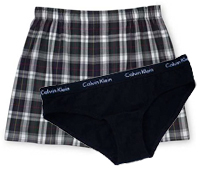
You’ll want to rotate between the two or more pairs of underwear that you’ll be carrying.
![]()
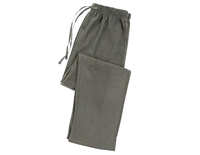
While not 100% necessary, I’ve found it to be nice to have a pair of lightweight fleece pants to sleep in at night. This pair of pants is especially nice if you are going to be camping in cooler conditions.
![]()
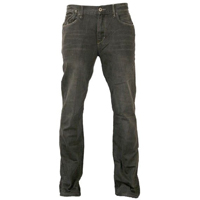
Off the bike, you’re going to want a pair of pants that can be worn around town – potentially in both formal and informal environments. A pair of lightweight black jeans is a good option, in my opinion.
![]()
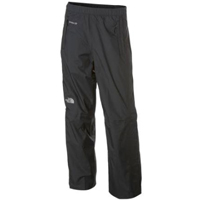
I’ve got a basic set of North Face rain pants that I highly recommend. They’re waterproof, weigh almost nothing, and pack down to an incredibly small size.
![]()
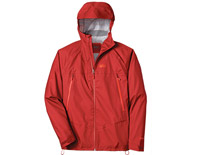
Finally, you’re going to want a small, lightweight rain jacket that is 100% waterproof and can be worn in the worst of weather conditions. This jacket does not have to be a dedicated cycling jacket. I, for example, have recently been using the REI Rhyolite rain jacket, and I really, really like it.
![]()
So, there you have it! This is a lightweight, affordable, bike touring set up that you can use for local bike tours, or or long-distance cycling adventures around the world.
The Best Lightweight Bike Touring Setup
To start, let’s take a look inside the handlebar bag. Handlebar bags are great because they allow you to access your important and most-used items in a quick and easy manner. Inside your handlebar bag you might carry a hat, a lightweight journal, a pair of sunglasses in a lightweight protective case, street maps, a smartphone (which you can use for navigation and entertainment) and your front and rear bike lights (which you’ll only place on your bicycle when you need them).
There’s a zippered pocket inside this particular handlebar bag and attached to this pocket is a small lanyard where you can attach a spare key for your bike lock. Inside the zippered pocket you might keep your passport, a pen, your wallet, a spork (to eat with) and a small folding knife.
On the outside of the handlebar bag are two small zippered pockets. On one side of the bag you might keep two plastic tire levers and a lightweight patch kit. In the pocket on the other side you can carry some lip balm, your multi-tool, a small lighter, and a spoke wrench.
On the back of the bicycle is a Voltaic 6 Watt solar panel, which you can use to keep your smartphone and bike lights charged up while you’re cycling on the road. The solar panel attaches to your rear rack with a bungee cord, and then the panniers mount to the rack after you’ve secured the solar panel in place.
Having a solar panel isn’t necessary and you could certainly save some weight from your bicycle by getting rid of it, but it definitely comes in handy if you plan to use your smartphone a lot, or if you think you might go for several days without having access to a power outlet.
In the pannier on your bicycle’s left side I recommend you carry an inflatable sleeping pad, a bike lock, a bicycle pump, a one-man tent, and a three-season sleeping bag. All of that goes inside one large pannier!
On the outside of that rear pannier there’s a small pocket where you carry some of your additional, but rarely used bike tools, such as chain lube, spare brake and/or derailleur cables, a lightweight pedal wrench, spare brake pads and handlebar tape (which can also be used for a plethora of other things).
Finally, inside your rear right pannier, you are going to carry all of your personal belongings. In addition to the clothes you’ll be wearing on your bicycle (which might consist of shoes, shorts and a jersey of some kind, you’ll also want to be packing a compact fleece jacket (to keep yourself warm both on and off the bicycle), a toiletry kit (consisting to a camp towel, toothbrush and toothpaste, deodorant, soap, razor and shaving cream, etc), a half-roll of toilet paper, a couple extra pairs of socks, one or more spare bike tubes, a pair of gloves (which are optional, but are nice to have – especially in colder weather), an electricity converter (which you really only need if you’re traveling to a foreign country), a small lightweight camp stove and pot (which is also optional and certainly not required), a few spare shirts (to wear both on and off the bike), one or more pairs of underwear, some lightweight fleece pants to sleep in, a pair of pants to wear off the bike at night, a pair of waterproof rain pants, and a lightweight rain jacket.
It’s important to note that while the rear left pannier is filled to the top with camping equipment, the rear right pannier is really only about half-way full. This is extremely important, as you need to save space inside your panniers for food, drinks, and any other items you might pick up along the way. So make sure you save some space inside your panniers when you’re packing. You need to have at least 1/2 to 1/3 of your panniers empty and saved for food storage.
To learn more about conducting your own incredible bike tours anywhere in the world, be sure to grab a copy of The Bicycle Touring Blueprint – which is the world’s best book about how to plan, prepare for, and execute the bike tour of your dreams.
Hi Darren,
Thanks for the video.
Something I would take which I don’t think you mentioned and that takes almost no space at all is one of those small Military tin openers.Useful for opening the odd tin of food that one might get from a store for later if fresh food is not available.
best regards,Paul
I just use my knife to open cans/tins.
Is there a reason you prefer storing personal wares on the right side pannier?
Yes. A couple reasons actually. 1. The gearing is on the right side of your bike, so if you lay your bicycle down on the ground, it should be paid on the left side – so as to not damage your gearing… and so as to not damage anything delicate on the right-hand side of your bike. 2. Also, because when I’m cycling in a country that drives on the right-hand side of the road, if I were to get clipped by a passing car, the things on the right side of my bike would be safe (maybe), while the bags on the left side could be destroyed. I talk about this more (and in better detail) inside “The Bicycle Touring Blueprint.”
Great video thank you, I know you don’t mention it in this article so I hope you don’t mind me asking, is there any chance you have any experience using a “cycling tent”? I saw it in another blog, it seems like a good idea but I am a rookie when it comes to this stuff, just wanted to ask for your opinion.
Thanks in advance.
You mean a bicycle tent like this? https://bicycletouringpro.com/mehler-adventure-trans-alp-bicycle-tent/ 🙂
What apps do you use (or other sources for maps) for navigation? I have smartphones and a GPS but thus far no useful maps on any device. I’m about to set off from Vancouver BC to Oaxca Mexico and probably further south (potentially Argentina) and have found a lack of info on all of the developing countries. Loads of info on Canada and the USA but it’s not really necessary to have maps there IMO.
I’m currently using Google Maps, Google MyMaps and Maps.me to plan my bike tours. I show you how to do it in my video training program: https://www.bicycletouringpro.com/video